

Introduction
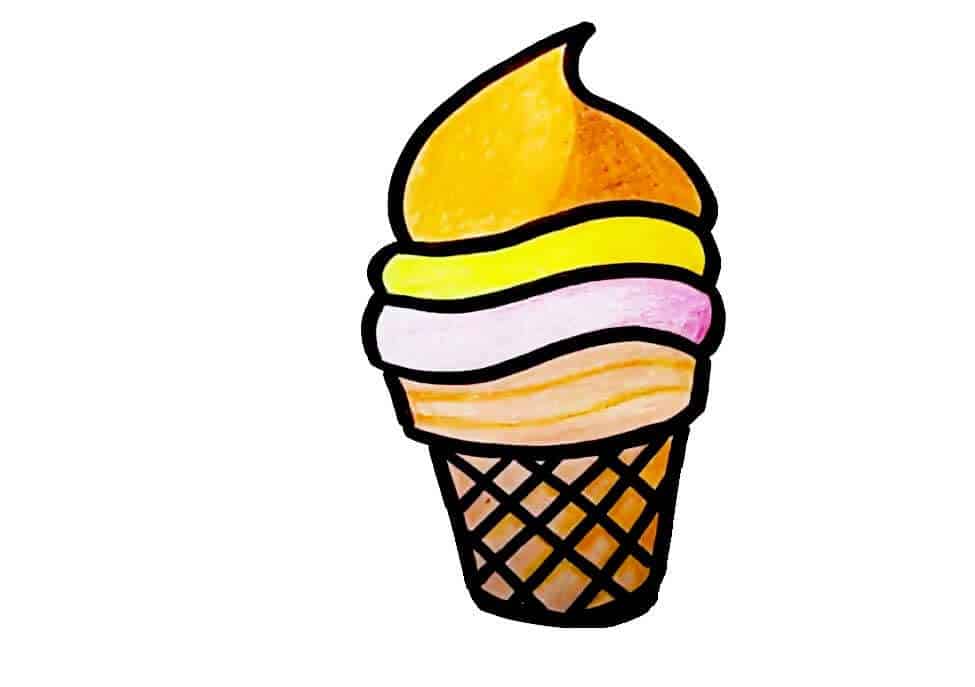
Drawing ice cream is a delightful way to practice your artistic skills and create a visually appealing and fun piece of art. With its vibrant colors, various textures, and mouthwatering shapes, ice cream offers a perfect subject for artists of all ages. Whether you're a beginner or an experienced artist, this step-by-step guide will help you draw a delicious ice cream cone that will make your mouth water.
Materials You’ll Need
Before you begin drawing, gather the following materials:
- Pencil and eraser
- Paper
- Black pen or marker
- Colored pencils, markers, or crayons (optional for adding color)
Step 1: Sketch the Basic Shapes
Draw the Cone:
- Start by drawing a large, narrow triangle at the bottom of your paper. This will be the ice cream cone. Make sure the triangle’s point is facing downward.
Add the Ice Cream Scoop:
- On top of the triangle, draw a large, rounded shape that overlaps the top edge of the triangle. This will represent the scoop of ice cream. It should look like a fluffy, irregular circle.
Step 2: Refine the Cone
Add the Cone Details:
- To give the cone a textured look, draw horizontal lines across the triangle. Then, add diagonal lines intersecting the horizontal lines to create a crisscross pattern. This will give the cone a classic waffle texture.
Create the Cone’s Base:
- Draw a curved line at the bottom of the cone to complete its shape. This line should curve slightly to match the triangular base.
Step 3: Refine the Ice Cream Scoop
Add Drips and Texture:
- To make the ice cream look more realistic, add a few curved, irregular lines along the sides of the scoop to represent drips. This gives the impression that the ice cream is melting a bit.
Add a Second Scoop (Optional):
- If you want to draw multiple scoops, repeat the process by adding another rounded shape on top of the first scoop. Make sure the new scoop slightly overlaps the first one and adjust the drips accordingly.
Step 4: Add Facial Features (Optional)
- Draw a Face:
- For a fun twist, you can add a cute face to your ice cream scoop. Draw two small oval shapes for eyes, a small rounded shape for the nose, and a curved line for the mouth. You can make it happy, surprised, or any expression you like.
Step 5: Outline and Refine
Outline Your Drawing:
- Once you’re happy with your sketch, go over the lines with a black pen or marker to make them stand out. Carefully trace the pencil lines to create a clean and bold outline.
Erase Pencil Marks:
- After the ink has dried, gently erase any remaining pencil lines to leave only the black outline.
Step 6: Add Color
Color the Cone:
- Use shades of brown or beige for the cone to give it a realistic look. Apply a lighter color for the upper part of the cone and a darker shade for the crisscross pattern.
Color the Ice Cream Scoop:
- Choose colors for the ice cream scoop based on your flavor. You can use pastel colors like pink for strawberry, light brown for chocolate, or pale yellow for vanilla. Use different shades to add depth and texture.
Add Toppings (Optional):
- If you want to get creative, draw and color toppings like sprinkles, chocolate syrup, or a cherry on top of the scoop.
Step 7: Add Final Touches
Add Highlights and Shadows:
- Lightly shade areas where shadows might fall, such as under the scoop or the cone’s edges. Use a white pencil or an eraser to add highlights on the ice cream to give it a glossy, appetizing look.
Review Your Drawing:
- Take a step back and review your drawing. Make any final adjustments to ensure everything looks balanced and appealing.
Conclusion
Drawing ice cream is a fun and rewarding activity that allows you to explore different colors, textures, and shapes. By following these steps, you can create a mouthwatering illustration that captures the essence of this beloved treat. So, grab your drawing materials, let your creativity flow, and enjoy the process of bringing your delicious ice cream drawing to life!
Always Visit our blog Easy Kids Learning Corner
