

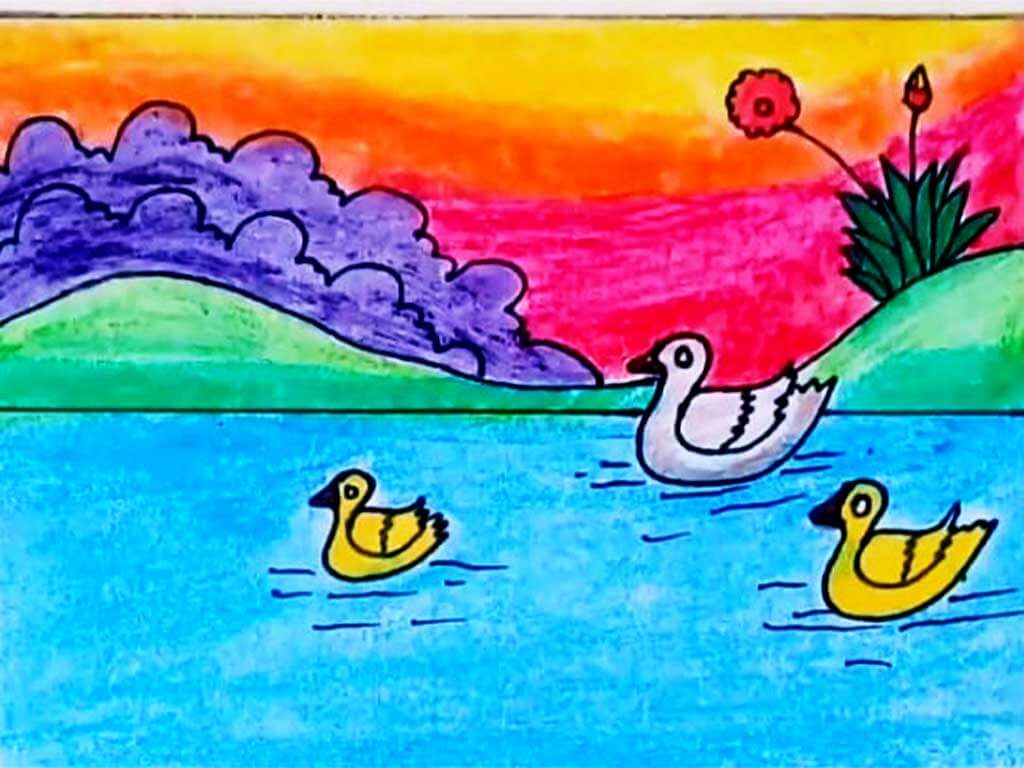
A Fun Guide to Duck Drawing for Kids: Step-by-Step Instructions
Drawing is a fantastic way for kids to express their creativity, develop fine motor skills, and have fun. One of the most delightful and approachable subjects for young artists is a duck. Ducks are not only cute and easy to draw but also offer a great opportunity for children to practice basic shapes and simple techniques. In this article, we provide a straightforward, step-by-step guide to drawing a duck that kids will enjoy.
Materials Needed
Before starting the drawing, gather the following materials:
- Paper
- Pencils (preferably a soft pencil like 2B)
- Erasers
- Colored pencils, crayons, or markers (for coloring)
Step-by-Step Guide to Drawing a Duck
Step 1: Draw the Body
Start by drawing an oval shape for the duck's body. This will be the main part of the duck. The oval doesn’t need to be perfect—just make sure it’s slightly elongated to resemble the shape of a duck’s body.
Step 2: Add the Head
Next, draw a smaller circle or oval at the top of the body. This will be the duck’s head. Position it so that it slightly overlaps with the top part of the body. This overlap will give the duck a natural, connected look.
Step 3: Draw the Beak
Draw a small, flattened triangle at the front of the head for the beak. Make sure the point of the triangle is facing outward. You can also add a small curved line at the base of the triangle to show where the beak separates from the head.
Step 4: Add the Eyes
Draw a small circle or dot near the top of the head for the eye. For a more expressive look, you can draw a tiny circle inside the eye and shade it in to create a pupil. You can place the eye a little to the side for a cute, playful expression.
Step 5: Sketch the Wings
Draw two curved lines on each side of the body to form the wings. These lines should start near the middle of the body and curve slightly outward. You can make the wings look more detailed by adding a few curved lines inside them to represent feathers.
Step 6: Draw the Legs and Feet
Draw two straight or slightly curved lines coming down from the bottom of the body for the legs. At the end of each leg, draw webbed feet by sketching out a shape that looks like a rounded “W” or an upside-down “M”. Add a few lines to show the webbing between the toes.
Step 7: Add the Tail
At the back end of the body, draw a small, slightly curved triangle or a couple of feather shapes to represent the tail. This will give your duck a complete and finished look.
Step 8: Refine and Erase
Go over your drawing with a darker pencil or pen to refine the lines. Erase any extra or overlapping pencil marks that you don’t need. This will help clean up your drawing and make it look neat.
Step 9: Color Your Duck
Now comes the fun part—coloring! Ducks are often yellow but feel free to use any colors you like. You can color the body yellow, the beak orange, and the legs and feet a similar shade. You might also want to add some blue or green to the wings if you’re feeling creative.
Tips for Young Artists
- Start Light: Begin with light pencil strokes so that any mistakes can be easily erased and corrected.
- Use Simple Shapes: Focus on using basic shapes like ovals and triangles to make the drawing process easier.
- Practice Makes Perfect: Don’t worry if your first duck doesn’t look exactly as you imagined. Practice drawing different ducks and experiment with various expressions and poses.
- Get Creative: Once you’re comfortable with the basic duck drawing, try adding accessories like a hat, sunglasses, or a bow tie to make your duck unique.
Conclusion
Drawing a Duck is a delightful and accessible project for kids of all ages. By following these simple steps, young artists can create their own charming duck illustrations while developing their drawing skills. Remember, the most important part of drawing is to have fun and let your creativity flow. So grab your pencils, start sketching, and enjoy the process of bringing your duck to life!
Always Visit our blog Easy Kids Learning Corner
