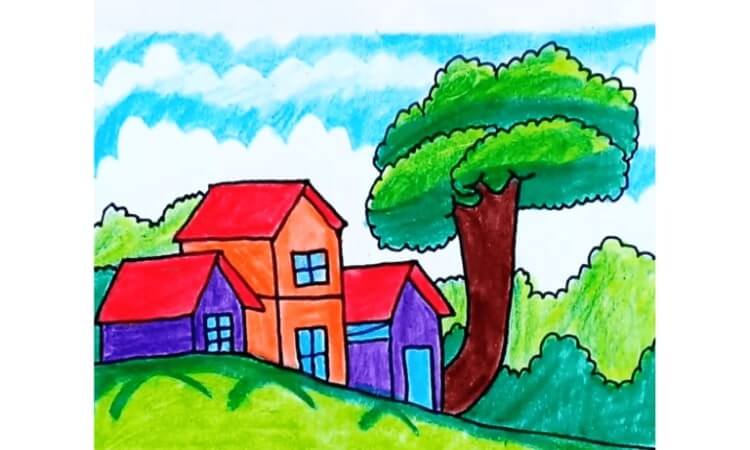
The Art of Landscape Drawing: A Comprehensive Guide
Landscape drawing is one of the oldest and most revered forms of artistic expression. From the grand scenes of rolling hills, forests, and rivers to the more intimate settings of parks, gardens, and cityscapes, landscape art captures the natural beauty and grandeur of the world around us. Whether you are an aspiring artist or an admirer of nature’s vistas, learning the intricacies of landscape drawing can be a deeply rewarding experience.
History and Significance of Landscape Drawing
Landscape art has roots that trace back to ancient civilizations. Early examples can be seen in the frescoes of ancient Egypt, Rome, and China, where artists depicted their surrounding environments as background scenes for religious or historical events. However, it was during the Renaissance period that landscape drawing evolved into a genre in its own right. Artists such as Leonardo da Vinci and Albrecht Dürer began to focus on nature’s beauty and complexity, highlighting the importance of natural environments in their works.
Over time, landscape art became a means for artists to explore themes of romanticism, the sublime, and the individual's connection with nature. In the 19th century, the movement known as the Hudson River School emerged in America, with painters like Thomas Cole and Albert Bierstadt creating monumental landscapes that celebrated the untouched beauty of the American wilderness.
Materials Needed for Landscape Drawing
- Pencils: A range of graphite pencils (H for light lines and B for darker, softer strokes) is essential for adding detail and texture.
- Erasers: Both kneaded erasers and hard erasers are useful for creating highlights and correcting mistakes.
- Paper: Choose paper with a texture (like medium-tooth drawing paper) that can hold graphite but still allows for smooth shading.
- Blending Tools: Tortillons (blending stumps), tissues, or even your fingers can help smooth out areas and create soft transitions in shading.
- Rulers and Compasses: These can assist in sketching out perspective and maintaining accurate proportions.
Steps to Begin a Landscape Drawing
Observe and Choose a Scene The first step in landscape drawing is observation. Whether you are working from life or a photograph, choose a scene that resonates with you. Study the composition, paying attention to the horizon line, focal points, and how different elements (trees, mountains, clouds) interact with one another.
Sketch the Basic Outline Begin with a rough sketch, focusing on the overall composition. Use light, loose strokes to outline the main elements of your landscape, such as mountains, trees, bodies of water, or buildings. At this stage, it's important not to get bogged down in the details. Your primary concern should be laying out the general shapes and structure.
Define the Foreground, Midground, and Background A good landscape drawing has depth. To achieve this, break the scene into three main sections:
- Foreground: The area closest to the viewer, typically with the most detail and contrast.
- Midground: The middle distance where elements like trees or buildings reside.
- Background: The farthest part of the scene, often featuring hills, mountains, or sky. These areas are usually lighter and less detailed to create the illusion of distance.
Add Details and Texture Once you have your composition, begin to add more detail and texture to each section of the landscape. Use various pencil grades to create contrast, shadows, and highlights. Trees can be sketched with jagged lines for bark and leaves, while water might be depicted with softer strokes to convey its fluid nature.
Incorporate Light and Shadow Light is crucial in bringing depth and realism to a landscape drawing. Determine the direction of your light source and shade accordingly. Shadows can be deep and dark in the foreground, becoming lighter as they recede into the background. This technique, known as atmospheric perspective, enhances the sense of space in your drawing.
Refine and Finalize After adding the main elements, go over the drawing again to refine edges, adjust the values of light and dark areas, and add small details. Ensure there’s a balance between the different parts of the composition, and don’t hesitate to step back and evaluate your work from a distance.
Tips for Improving Your Landscape Drawing Skills
Practice Sketching from Nature: If possible, spend time outdoors sketching real landscapes. This practice helps you develop an eye for detail, composition, and lighting.
Study the Masters: Examine works by famous landscape artists to understand their techniques, use of composition, and how they captured the essence of nature.
Play with Composition: Experiment with different arrangements, perspectives, and focal points in your scenes. Don’t be afraid to move elements around to create a more engaging composition.
Focus on Texture: Learn how to depict different textures like rocky terrain, smooth water, or dense foliage using varied strokes and shading techniques.
Experiment with Light: Lighting can dramatically alter the mood of your landscape. Try drawing the same scene under different lighting conditions, such as dawn, midday, and twilight, to see how light transforms the atmosphere.
Conclusion
Landscape drawing is more than just a technical exercise—it's an exploration of the beauty and power of nature. By mastering the fundamentals of observation, composition, texture, and light, artists can convey the grandeur of vast mountain ranges, the serenity of a quiet forest, or the dynamic energy of crashing waves. Whether you're a beginner or an experienced artist, the art of landscape drawing offers endless possibilities for creativity, expression, and connection with the natural world.
Always Visit our blog Easy Kids Learning Corner


